


If you come from a Vue or React (styled component/JSS) background, a single file component is your “normal” definition of a component. I fully appreciate the separation of concern that Angular conveys to the world along with all the amazing features that it provides out of the box. But in some cases, especially when building a design system, components tend to be small and it might make more sense to encapsulate JS, HTML, and CSS in one single file representing a customized and composable UI element.
In this article, I will walk you through few easy steps you need to make a single file component with Angular including intellisense and auto-generation configuration.
Setup Angular Project
Install Angular CLI and create a new project
npm install -g @angular/cli
ng new angular-single-file-component
Add Angular Configuration
When running ng g component, Angular by default creates a folder with four files (ts, html, css, and spec). We need to add a new configuration to make it generate only ts and spec files.
In angular.json file, add the following under "sematics" property:
"schematics": {
  "@schematics/angular:component": {
    "inlineStyle": true,
    "inlineTemplate": true
   }
}
Generate a test component
Let’s use CLI in the command-line to generate a single file component:
ng g component single-file
The following folder with two files will be created:
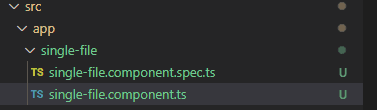
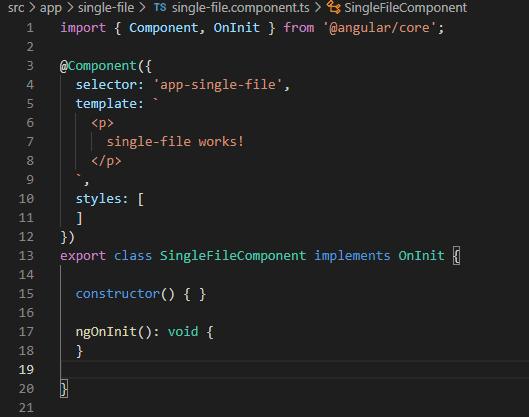
And the single-file.ts file will look like this:
Add Syntax Highlighting and Intellisense Support
If you are using VS Code, installing Angular Language Service extension will enable syntax highlighting and intellisense:
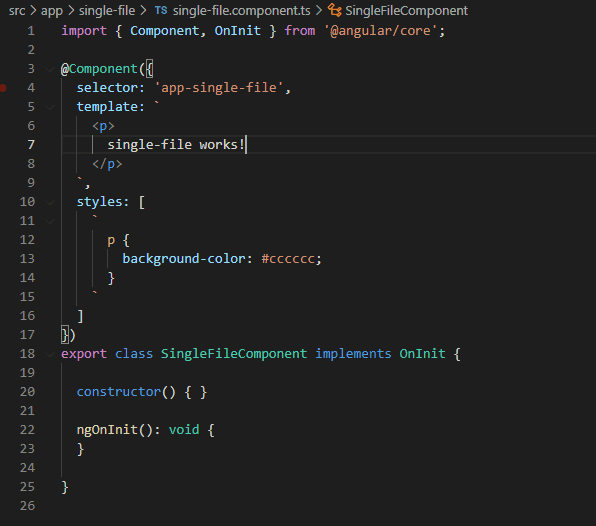
And finally, we can try binding attributes and properties with intellisense:
You can access the complete repository here.
Bye for now 👋


