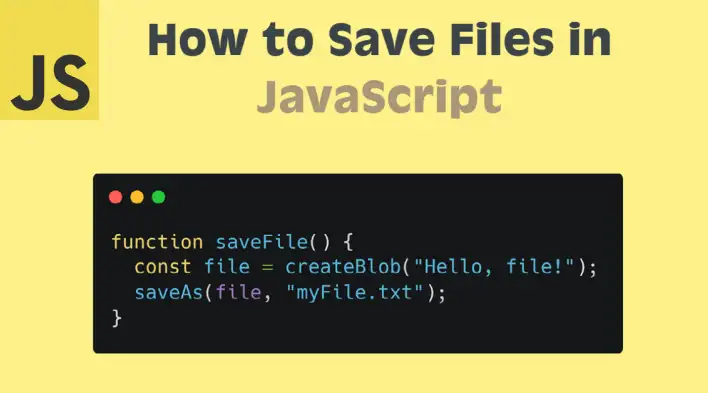
In the web world, “save file”, “save as”, or “download file” are used interchangeably and mean the same thing, which is to download and save a file to the client’s machine. There isn’t a built-in method in JavaScript that allows us to do so, but there are a few ways to achieve this. In this tutorial, we’ll explore different ways to save files in JavaScript programmatically, including how to download multiple files in one hit.
Download and save a file using an anchor element
The easiest way to download and save a file programmatically in JavaScript is to dynamically create an anchor element with a download attribute and invoke the click event. Let’s create a function called saveFile that takes a URL and a file name as parameters and does the following:
- Create an anchor element
- Set the
hrefto the URL - Set the
downloadattribute to the file name - Append the anchor to the body
- Invoke the click event
- Remove the anchor from the body
function saveFile(url, filename) {
  const a = document.createElement("a");
  a.href = url;
  a.download = filename || "file-name";
  document.body.appendChild(a);
  a.click();
  document.body.removeChild(a);
}
Although appending the anchor to the body is not always necessary, it’s a good practice to do so to avoid any issues with the click event on some browsers with different configurations.
We can consume the function as follows:
saveFile("/files/myFile.txt", "myFile.txt");We are not limited to static files. We can also download files that are generated dynamically. For example, we can create a Blob object and convert it to a URL.
const file = new Blob(["Hello, file!"], { type: "text/plain" });
const url = window.URL.createObjectURL(file);
saveFile(url, "myFile.txt");
window.URL.revokeObjectURL(url);
createObjectURL creates a URL for the Blob object, and it’s only valid for the duration of the page session unless we call revokeObjectURL to release the object.
Download and save a file using the fetch API
Another way to download and save a file is to use the fetch API to get the file content first and then use the Blob object to create a URL. This approach has has a couple of advantages:
- We can get the file content from a different domain, especially with cloud storage like AWS S3 or Azure Blob Storage. If we try to download a file from a different domain using the anchor element, it will redirect us to the file instead of downloading it.
fetchis designed to work with the Streams API, allowing it to process large amounts of data in chunks without loading the entire file into memory. This is particularly useful for downloading large files or working in environments with limited memory.
Let’s create a function called downloadFile that takes a URL and a file name as parameters and does the following:
- Fetch the file content
- Convert the response to a blob
- Create a URL from the blob
- Use the
saveFilefunction we did earlier to download the file
async function downloadFile(url, filename) {
  try {
    const response = await fetch(url, {
      headers: {
        Accept:
          "application/json, text/plain,application/zip, image/png, image/jpeg, image/*",
      },
    });
    if (!response.ok) {
      throw new Error(`HTTP error! status: ${response.status}`);
    }
    const blob = await response.blob();
    const blobUrl = URL.createObjectURL(blob);
    saveFile(blobUrl, filename);

    URL.revokeObjectURL(blobUrl);
  } catch (err) {
    console.error("Error in fetching and downloading file:", err);
  }
}
Notice that we are passing the Accept header to the fetch function to specify the file type. This is important because the fetch function will try to guess the file type based on the response headers, and if it fails, it will throw an error.
Now, we can consume the function with different file types and cross-domain URLs:
downloadFile("https://httpbin.org/robots.txt", "textFile.txt");
downloadFile("https://httpbin.org/image", "imageFile.jpg");
downloadFile("https://httpbin.org/json", "jsonFile.json");
Use file-saver library
FileSaver.js is an excellent solution to saving files on the client-side without having to write our custom code.
First, we need to install the library:
npm i file-saverThen, use it as follows:
const FileSaver = require("file-saver");

// Save Blob file
const file = createBlob("Hello, file!");
FileSaver.saveAs(file, "myFile.txt");

// Save URL
FileSaver.saveAs("https://httpbin.org/image", "image.jpg");
The saveAs function takes two parameters:
- The file content, which can be a
Blobobject or a URL - The file name
We’re all done! FileSaver will take care of the rest of the logic for us.
Zip and download multiple files
In some instances, we need to download multiple files in one hit. Although this can be achieved by looping through the files and triggering the save function, this will end up with many files added to the download folder.
An alternative solution is to use JSZip, a library for creating, reading, and editing .zip files.
First, we need to install the library:
npm i jszipThen, in the following code snippet, we’ll create a zip file with two text files and download it:
const zip = new JSZip();
const file1 = new Blob(["Hello, file 1!"], { type: "text/plain" });
const file2 = new Blob(["Hello, file 2!"], { type: "text/plain" });
zip.file("file1.txt", file1);
zip.file("file2.txt", file2);
const content = await zip.generateAsync({ type: "blob" });
const contentUrl = URL.createObjectURL(content);
saveFile(contentUrl, "zipContent.zip");
Additionally, we can use the FileSaver’s saveAs function instead of the saveFile function we created earlier.
Browser SaveAs configuration
Typically, when the file is downloaded, it will be saved in the download folder. However, the user can configure the browser to “saveAs” and choose a different location to save the file.
In Chrome, the user can go to Settings > Advanced > Downloads and toggle the “Ask where to save each file before downloading” option.
In Edge, the user can go to Settings > Downloads and toggle the “Ask me what to do with each download” option.
In Firefox, the user can go to Options > General > Files and Applications and toggle the “Always ask you where to save files” option.
In Safari, the user can go to Preferences > General and toggle the “File download location” option.
Demo
Conclusion
Creating a custom solution to download and save files programmatically in JavaScript gives us flexibility and control but can be time-consuming and error-prone. Using a library like FileSaver.js saves us time and effort as the library is well-tested and maintained.
Bye for now 👋


