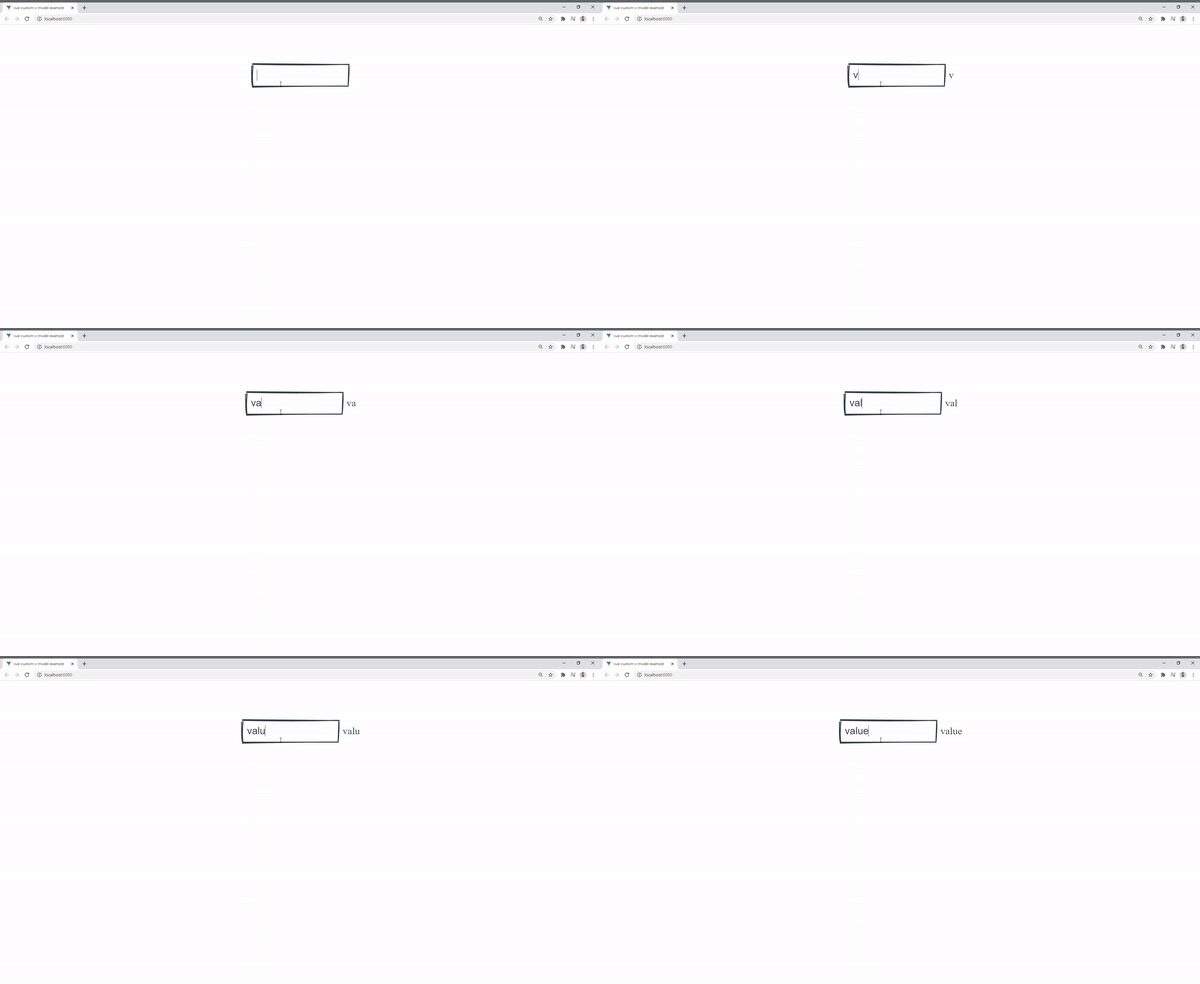
I wrote in a previous article the importance of Web Components and how to make them work with React. Today, I’m focusing on a Vue example with a Web Component input element.
Fortunately, Vue fully supports Web Components according to custom-elements-everywhere.com but I faced a small inconvenience while using v-model directive with an input element.
V-model is a built-in directive in Vue that makes data binding easier with less code.
The code below:
<input v-model="searchText">Is the same as:
<input
  :value="searchText"
  @input="searchText = $event.target.value"
>
Currently, we can’t use v-model in a Web Component but we can create our own custom directive to make it behave the same way across all custom elements!
For simplicity purposes, I’m using Wired Elements for the Web Components example. Wired Elements are a set of common UI elements with a hand-drawn, sketchy look. The library uses LitElement for creating Web Components.
Create Vue App
Install Vue CLI and create a new project.
npm install -g @vue/cli @vue/cli-service-global
vue create vue-custom-v-model-example
Install Wired Elements
Full documentation on Wired Elements is available on their main repository
npm i wired-elementsImport Input Element:
In this section, we will add a Wired Input Element and show how the v-model won’t work the way it usually does with the native input element.
<template>
  <article>
    <wired-input v-model="txtValue"></wired-input>
    {{txtValue}}
  </article>
</template>

<script>
import 'wired-input';

export default {
  name: 'App',
  components: {
  },
  data() {
    return {
      txtValue: ''
    }
  }
}
</script>

<style>
#app {
  text-align: center;
  color: #2c3e50;
  margin-top: 60px;
}
</style>
Quick summary of the code above:
- Imported
wired-input - Created a new
txtValuedata to use in v-model - Print out the
txtValueon the screen as we are typing
Now as expected, when typing, nothing is printed:

Create a custom directive
Let’s create a new directive and call it custom-model.js. The directive will listen to the input event and update the binding value.
import Vue from "vue";

Vue.directive("custom-model", {
  bind(el, binding, vnode) {
    const inputHandler = (event) =>
      (vnode.context.$data[binding.expression] = event.target.value);
    el.addEventListener("input", inputHandler);
  },
});
Here are some details of what we did in the code above:
- In line 4, we are using the
bindhook function (when the directive is first bound to the element) - In line 6, we are accessing the context data from
vnodeobject to update the binding value in theinputHandlerfunction. - Line 7, simply add an event listener to the element
Test input element with the custom directive
Now that we have the directive ready, let’s apply it to the web component.
First, let’s update App.vue to use the new directive:
<template>
  <div id="app">
    <wired-input v-custom-model="txtValue" />
    {{txtValue}}
  </div>
</template>

<script>
import 'wired-input';
import CustomModelDirective from './directives/custom-model';

export default {
  name: 'App',
  components: {
  },
  data() {
    return {
      txtValue: ''
    }
  },
  directives: {
    CustomModelDirective
  }
}
</script>

<style>
#app {
  text-align: center;
  color: #2c3e50;
  margin-top: 60px;
}
</style>
Here is a demonstration of the final working code:

You can access the complete repository here.
Bye for now 👋


